Simplify Navigation in Flutter with AutoRoute
Beginner's guide to navigation using auto_route
Navigation is a crucial aspect of mobile app development, enabling users to move between different screens seamlessly. In Flutter, the navigation process can sometimes become complex, especially as your app grows. To address this challenge, developers often turn to routing solutions that make navigation more manageable and maintainable. One such solution is auto_route.
Getting Started with AutoRoute
Setting Up Your Flutter Project
To begin using auto_route, start by creating a new Flutter project using flutter create new_project.
Open your pubspec.yaml file and add the following dependencies:
dependencies:
  auto_route: ^7.8.4

dev_dependencies:
  auto_route_generator: 7.3.2
  build_runner:
After adding the dependencies, run flutter pub get to install them.
Project Folder Structure
Next, organize your project by creating folders inside the lib directory. Create a screens folder and a route_config folder. Inside the route folder, create a file called app_route.dart. Within the screens folder, create a file called control_screen.dart. Additionally, create a new folder inside screens called sub_screens. Inside this folder, create three files: screen1.dart, screen2.dart, and screen3.dart.
Your project structure should now look like this:
/lib
  /screens
    /sub_screens
      screen1.dart
      screen2.dart
      screen3.dart
    control_screen.dart
  /route_config
    app_route.dart
 main.dart
Defining Routes with AutoRoute
Now, let's define the routes in app_route.dart.
import 'package:auto_route/annotations.dart';
import 'package:auto_route/auto_route.dart';
import 'app_route.gr.dart'; // from the generated file

@AutoRouterConfig()
class AppRouter extends $AppRouter {
  @override
  List<AutoRoute> get routes => [
        AutoRoute(path: '/', page: Controlscreen.page),
        AutoRoute(path: '/screen1', page: Screen1.page),
        AutoRoute(path: '/screen2', page: Screen2.page),
        AutoRoute(path: '/screen3', page: Screen3.page),
      ];
}
Generating Routes
With the routes defined, you need to generate them using the build_runner command:
if you want the generator to run one time run:
flutter packages pub run build_runner build
This command will generate the necessary files for auto_route to handle the navigation or run flutter packages pub run build_runner watch if you want to generate them while making changes.
Running this will create a new file inside the route_config folder called app_route_gr.dart.
generated app_route_gr.dart:
// GENERATED CODE - DO NOT MODIFY BY HAND

// **************************************************************************
// AutoRouterGenerator
// **************************************************************************

// ignore_for_file: type=lint
// coverage:ignore-file

// ignore_for_file: no_leading_underscores_for_library_prefixes
import 'package:auto_route/auto_route.dart' as _i5;
import 'package:get_it_auto_router_go_router/auto_router/control_screen.dart'
    as _i1;
import 'package:get_it_auto_router_go_router/auto_router/screens/screen1.dart'
    as _i2;
import 'package:get_it_auto_router_go_router/auto_router/screens/screen2.dart'
    as _i3;
import 'package:get_it_auto_router_go_router/auto_router/screens/screen3.dart'
    as _i4;

abstract class $AppRouter extends _i5.RootStackRouter {
  $AppRouter({super.navigatorKey});

  @override
  final Map<String, _i5.PageFactory> pagesMap = {
    Controlscreen.name: (routeData) {
      return _i5.AutoRoutePage<dynamic>(
        routeData: routeData,
        child: const _i1.ControlScreen(),
      );
    },
    Screen1.name: (routeData) {
      return _i5.AutoRoutePage<dynamic>(
        routeData: routeData,
        child: const _i2.Screen1(),
      );
    },
    Screen2.name: (routeData) {
      return _i5.AutoRoutePage<dynamic>(
        routeData: routeData,
        child: const _i3.Screen2(),
      );
    },
    Screen3.name: (routeData) {
      return _i5.AutoRoutePage<dynamic>(
        routeData: routeData,
        child: const _i4.Screen3(),
      );
    },
  };
}

/// generated route for
/// [_i1.ControlScreen]
class Controlscreen extends _i5.PageRouteInfo<void> {
  const Controlscreen({List<_i5.PageRouteInfo>? children})
      : super(
          Controlscreen.name,
          initialChildren: children,
        );

  static const String name = 'Controlscreen';

  static const _i5.PageInfo<void> page = _i5.PageInfo<void>(name);
}

/// generated route for
/// [_i2.Screen1]
class Screen1 extends _i5.PageRouteInfo<void> {
  const Screen1({List<_i5.PageRouteInfo>? children})
      : super(
          Screen1.name,
          initialChildren: children,
        );

  static const String name = 'Screen1';

  static const _i5.PageInfo<void> page = _i5.PageInfo<void>(name);
}

/// generated route for
/// [_i3.Screen2]
class Screen2 extends _i5.PageRouteInfo<void> {
  const Screen2({List<_i5.PageRouteInfo>? children})
      : super(
          Screen2.name,
          initialChildren: children,
        );

  static const String name = 'Screen2';

  static const _i5.PageInfo<void> page = _i5.PageInfo<void>(name);
}

/// generated route for
/// [_i4.Screen3]
class Screen3 extends _i5.PageRouteInfo<void> {
  const Screen3({List<_i5.PageRouteInfo>? children})
      : super(
          Screen3.name,
          initialChildren: children,
        );

  static const String name = 'Screen3';

  static const _i5.PageInfo<void> page = _i5.PageInfo<void>(name);
}
Utilizing auto_route in main.dart:
import 'package:flutter/material.dart';
import 'package:flutter/services.dart';
import 'auto_router/route/app_route.dart';

void main() {
  runApp(const MyApp());
}

class MyApp extends StatelessWidget {
  const MyApp({super.key});

  @override
  Widget build(BuildContext context) {
    SystemChrome.setSystemUIOverlayStyle(
      const SystemUiOverlayStyle(
        statusBarColor: Colors.transparent,
        statusBarIconBrightness: Brightness.dark,
      ),
    );
    final appRouter = AppRouter();

    // auto router
    return MaterialApp.router(
      title: 'Flutter AutoRouter',
      theme: ThemeData(
        colorScheme: ColorScheme.fromSeed(seedColor: Colors.brown),
        useMaterial3: true,
      ),
      routerConfig: appRouter.config(),
    );
  }
}
Codes for Screens
screen1.dart:
import 'package:auto_route/annotations.dart';
import 'package:flutter/material.dart';

@RoutePage(name: 'screen1')

class Screen1 extends StatelessWidget {
  const Screen1({super.key});

  @override
  Widget build(BuildContext context) {
    return Scaffold(
      appBar: AppBar(
        title: const Text('Screen 1'),
      ),
      body: const Center(
        child: Text('Screen 1'),
      ),
    );
  }
}
screen2.dart:
import 'package:auto_route/annotations.dart';
import 'package:flutter/material.dart';

@RoutePage(name: 'screen2')

class Screen2 extends StatelessWidget {
  const Screen2({super.key});

  @override
  Widget build(BuildContext context) {
    return Scaffold(
      appBar: AppBar(
        title: const Text('Screen 2'),
      ),
      body: const Center(
        child: Text('Screen 2'),
      ),
    );
  }
}
screen3.dart:
import 'package:auto_route/annotations.dart';
import 'package:flutter/material.dart';

@RoutePage(name: 'screen3')

class Screen3 extends StatelessWidget {
  const Screen3({super.key});

  @override
  Widget build(BuildContext context) {
    return Scaffold(
      appBar: AppBar(
        title: const Text('Screen 3'),
      ),
      body: const Center(
        child: Text('Screen 3'),
      ),
    );
  }
}
Using AutoRoute in Your App
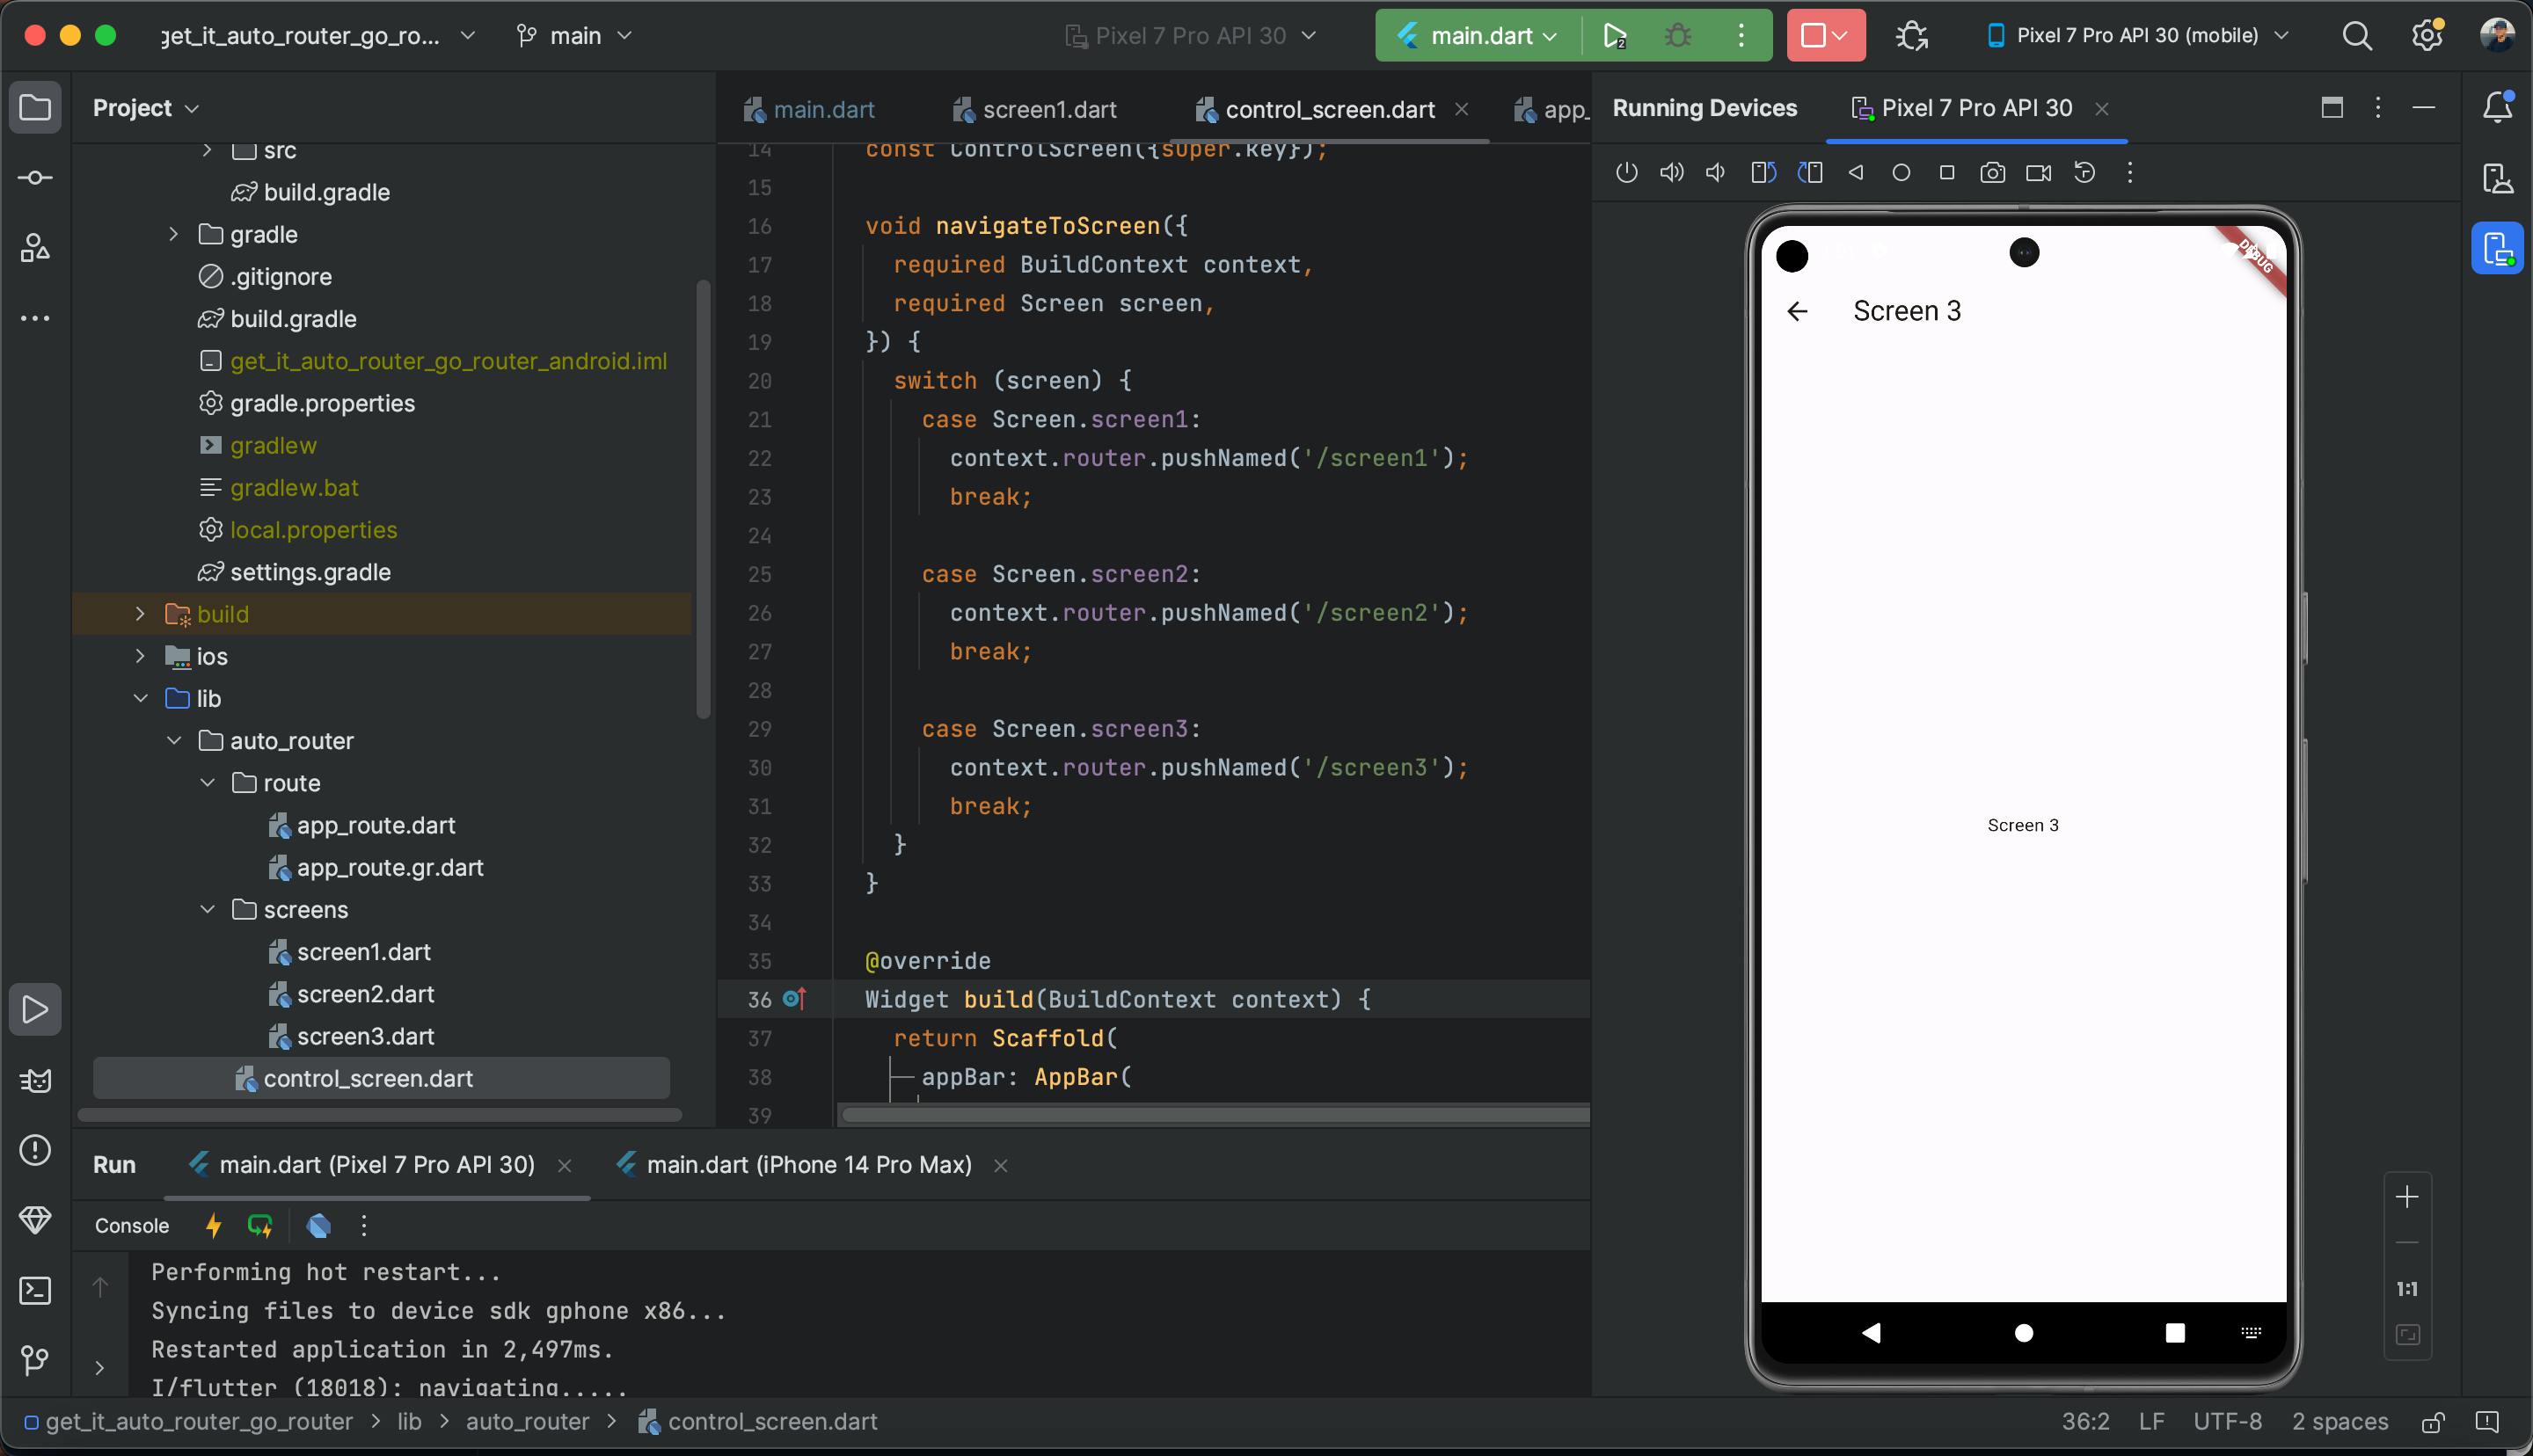
Now that the routes are generated, you can use auto_route in your application. Let's see an example in control_screen.dart:
import 'package:auto_route/annotations.dart';
import 'package:auto_route/auto_route.dart';
import 'package:flutter/material.dart';
import 'package:get_it_auto_router_go_router/go_router/config/route_config.dart';

enum Screen {
  screen1,
  screen2,
  screen3,
}

@RoutePage(name: 'controlscreen')
class ControlScreen extends StatelessWidget {
  const ControlScreen({super.key});

  void navigateToScreen({
    required BuildContext context,
    required Screen screen,
  }) {
    switch (screen) {
      case Screen.screen1:
        context.router.pushNamed('/screen1');
        break;

      case Screen.screen2:
        context.router.pushNamed('/screen2');
        break;

      case Screen.screen3:
        context.router.pushNamed('/screen3');
        break;
    }
  }

  @override
  Widget build(BuildContext context) {
    return Scaffold(
      appBar: AppBar(
        title: const Text('Control Screen'),
      ),
      body: Center(
        child: Column(
          mainAxisAlignment: MainAxisAlignment.center,
          children: [
            ElevatedButton(
              onPressed: () => navigateToScreen(
                context: context,
                screen: Screen.screen1,
              ),
              child: const Text('Navigate to Screen 1'),
            ),
            const SizedBox(height: 10),
            ElevatedButton(
              onPressed: () => navigateToScreen(
                context: context,
                screen: Screen.screen2,
              ),
              child: const Text('Navigate to Screen 2'),
            ),
            const SizedBox(height: 10),
            ElevatedButton(
              onPressed: () => navigateToScreen(
                context: context,
                screen: Screen.screen3,
              ),
              child: const Text('Navigate to Screen 3'),
            ),
          ],
        ),
      ),
    );
  }
}
In this example, we have a simple ControlScreen widget with buttons to navigate to Screen1, Screen2, and Screen3. The context.router.pushNamed() method is used to trigger the navigation.


Conclusion
AutoRoute in Flutter simplifies the process of managing and navigating through screens in your app. With a clean and organized project structure, along with the powerful capabilities of auto_route, you can enhance the development experience and maintainability of your Flutter applications. Streamlining navigation has never been easier with auto_route.
There is more to auto_router and you can find out more by going through its official documentation using: https://pub.dev/packages/auto_route
